How to patch a hole in drywall, from nail pops to fist-sized holes
Drywall repair by hole size: spackle for nail holes, a mesh patch for doorknob dents, and a new cut-in piece for fist-sized holes, with times, costs and safety checks.
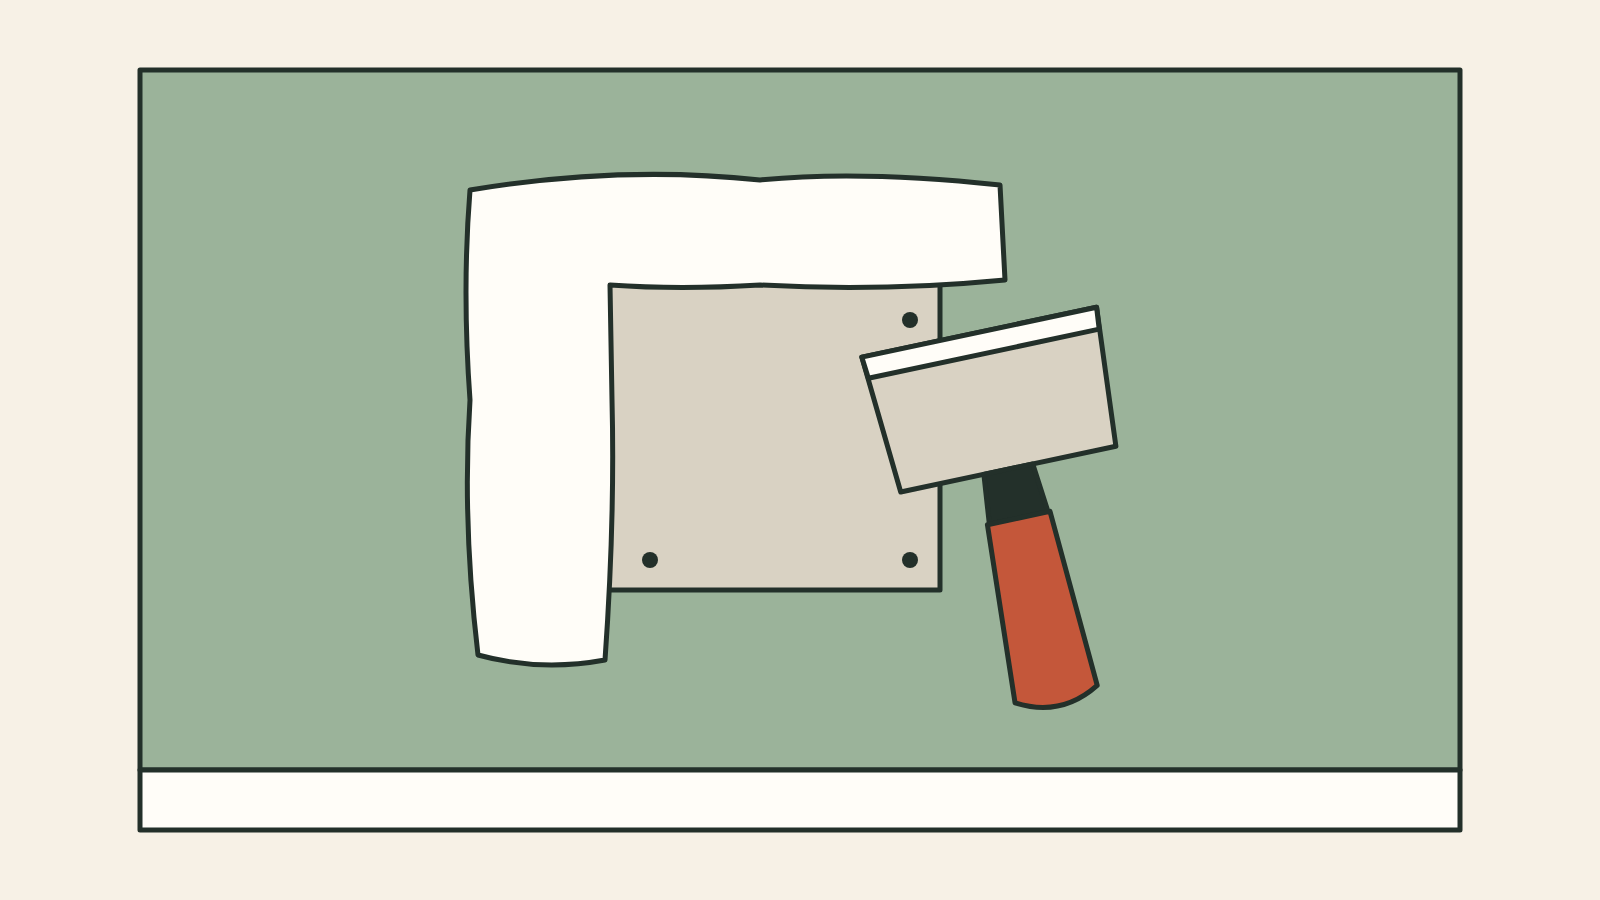
Most drywall holes are a beginner job. Size decides the method: fill nail holes and small dents with spackle or joint compound, cover holes up to a few inches across with a self-adhesive mesh patch or crossed strips of paper tape, and cut anything bigger back to a clean square and fit a new piece of drywall. Budget an afternoon of hands-on work, but expect the repair to take two or three days from start to paint, because each coat of compound has to dry before the next one goes on.
At a glance
- Time: 15 to 30 minutes of work for a nail hole, plus drying. Medium and large holes take 1 to 2 hours of work spread over two or three days, since ready-mixed compound usually needs about a day per coat to dry.
- Cost: about $10 to $30 for a small-hole repair kit, according to HomeAdvisor's drywall repair cost guide. A large hole costs more, since you also buy a drywall panel, clips or backing wood and a bigger tub of compound. Prices vary by store and region.
- Skill level: beginner for small and medium holes; confident beginner for a cut-in patch.
- Materials: lightweight spackle or ready-mixed joint compound, self-adhesive mesh patches or paper joint tape, a 2 ft by 2 ft drywall panel for big holes (match the thickness of your wall, usually 1/2 inch), drywall repair clips or a strip of 1x3 wood for backing, drywall screws, 150-grit sandpaper or a sanding sponge, primer and paint.
- Tools: 2-inch putty knife and 6-inch finishing knife, utility knife, drywall jab saw, tape measure, pencil, flashlight, drill or driver, drop cloth, dust mask (N95 or better), safety glasses.
Before you cut: wires, pipes and old paint
Holes near outlets, switches, light fixtures and plumbing walls hide the things you least want to hit. Before you saw anything, shine a flashlight into the hole and look along the cavity. Wires usually run up and down from outlets and switches and across between them; pipes run behind sinks, tubs and toilets and up to the floor above. If you have to enlarge a hole near an outlet or switch, turn that circuit off at the breaker first. Cut shallow with the jab saw, keeping the blade tip just through the drywall, and score with a utility knife where you can.
If you see damaged wiring, stop and call a licensed electrician. If you find a wet stud or a dripping pipe, the hole is the smaller problem: have a plumber fix the leak and let the cavity dry before you patch.
Sanding compound throws off fine dust. Wear a dust mask and glasses, lay a drop cloth, close the door, and sand lightly between coats rather than hard at the end.
Two age checks matter here. Homes built before 1978 may have lead paint, and sanding or cutting painted walls can spread lead dust. The EPA's lead-safe guidance for do-it-yourselfers says to have surfaces tested by a certified inspector, or assume lead is present if you do not know the home's age, and to contain the area, mist before sanding, and clean up with a HEPA vacuum and wet wipes. Older joint compound can also contain asbestos: the U.S. Consumer Product Safety Commission banned asbestos in consumer patching compounds in 1977, according to its asbestos guidance. If your walls date from before then, do not sand or cut the old compound until a professional has tested it.
Pick the method by hole size
The sizes below follow the drywall repair guide from USG, a gypsum panel manufacturer, which splits repairs into small holes and cracks, medium holes, and large holes over 2 feet.
| Damage | Method |
|---|---|
| Nail holes, small dents, popped screws | Fill with spackle or joint compound, one or two thin coats |
| Holes from about the size of a coin up to a few inches (doorknob dents, anchor pull-outs) | Self-adhesive mesh patch or crossed strips of paper tape, then two or three coats |
| Fist-sized and larger, or crumbly, water-damaged board | Cut out a square, fit a new piece of drywall on clips or wood backing, tape and coat |
Fix nail holes, dents and popped screws
- Scrape off loose paper and crumbs with the putty knife so nothing stands above the wall surface.
- Press spackle into the hole and draw the knife across it at a low angle, leaving the fill flush.
- For a popped nail or screw, drive a new drywall screw about 1-1/2 inches from it into the same stud, as the USG guide describes, then remove the popped fastener or drive it just below the surface. Cover both spots with compound.
- Let it dry according to the label, add a second thin coat if the first one sank, then sand lightly and prime.
Patch a medium hole with mesh or tape
- Trim torn paper and loose gypsum around the edge with a utility knife.
- Peel the backing off a self-adhesive mesh patch that overlaps the hole by at least an inch on every side, and press it flat. If you are using paper tape instead, butter the edges of the hole with compound and lay two or three crossed strips over the opening, pressing them in with the knife.
- Spread a thin first coat over the patch with the 6-inch knife, just enough to hide the mesh or tape. Thick coats crack and leave a bump.
- Let it dry fully, usually about a day for ready-mixed compound in a warm room. Setting-type powder compound hardens by chemical reaction in the time printed on the bag, often 20 to 90 minutes, which is handy when you want to finish faster.
- Apply a second, wider coat, feathering the edges 2 or 3 inches past the first. Let it dry, then sand lightly.
- Add a third skim coat if you can still see the patch outline when you hold a flashlight flat against the wall.
Replace a large section
- Cut a square of new drywall a little larger than the damage. Hold it over the hole and trace around it.
- Check the cavity with your flashlight, then cut along the traced lines with the jab saw, keeping the cut shallow. Remove any old screws or nails inside the opening.
- Give the new piece something to bite into. Either slip drywall repair clips onto the edges of the opening, or screw two lengths of 1x3 inside the hole so they overlap the top and bottom edges by about an inch, with screws through the wall face into the wood. If you are still choosing a tool for this kind of job, our guide to choosing between a drill and an impact driver covers what each does.
- Fit the patch and drive screws about 3/4 inch in from its edges into the clips or wood, sinking each head just below the paper without tearing it.
- Tape all four seams with paper tape or mesh tape bedded in compound. Do not overlap the tape at the corners.
- Apply a second and third coat, letting each dry and feathering each one wider than the last, then sand and prime.
National Gypsum's ready-mix guidance notes that cool, damp weather slows drying and that the room should stay at 50°F or warmer while you work. In a cold garage or a humid basement, a coat can take two days.
Prime, then paint the whole section
Fresh compound soaks up paint differently from the painted wall around it, so a patch painted straight over often shows as a dull square. Prime the repaired area first. Then paint the wall from corner to corner if you can, because touched-up spots rarely match older paint exactly, even in the same colour. If you end up repainting the whole room, work out how much paint the room needs before you buy.
When to call a pro
Bring in help when the damage runs across a ceiling, when the board is soft or stained from a leak you have not traced, when you find damaged wires or pipes, or when lead or asbestos testing comes back positive. HomeAdvisor's cost guide puts a contractor's price for a small hole at roughly $20 to $120; larger repairs, and any electrical, plumbing or abatement work, cost more.
