How to recaulk a bathtub so it stays sealed and clean
Strip the old caulk, clean and dry the joint, then lay one smooth bead. Silicone vs siliconized acrylic, cure times, ventilation and when the tub is safe to use.
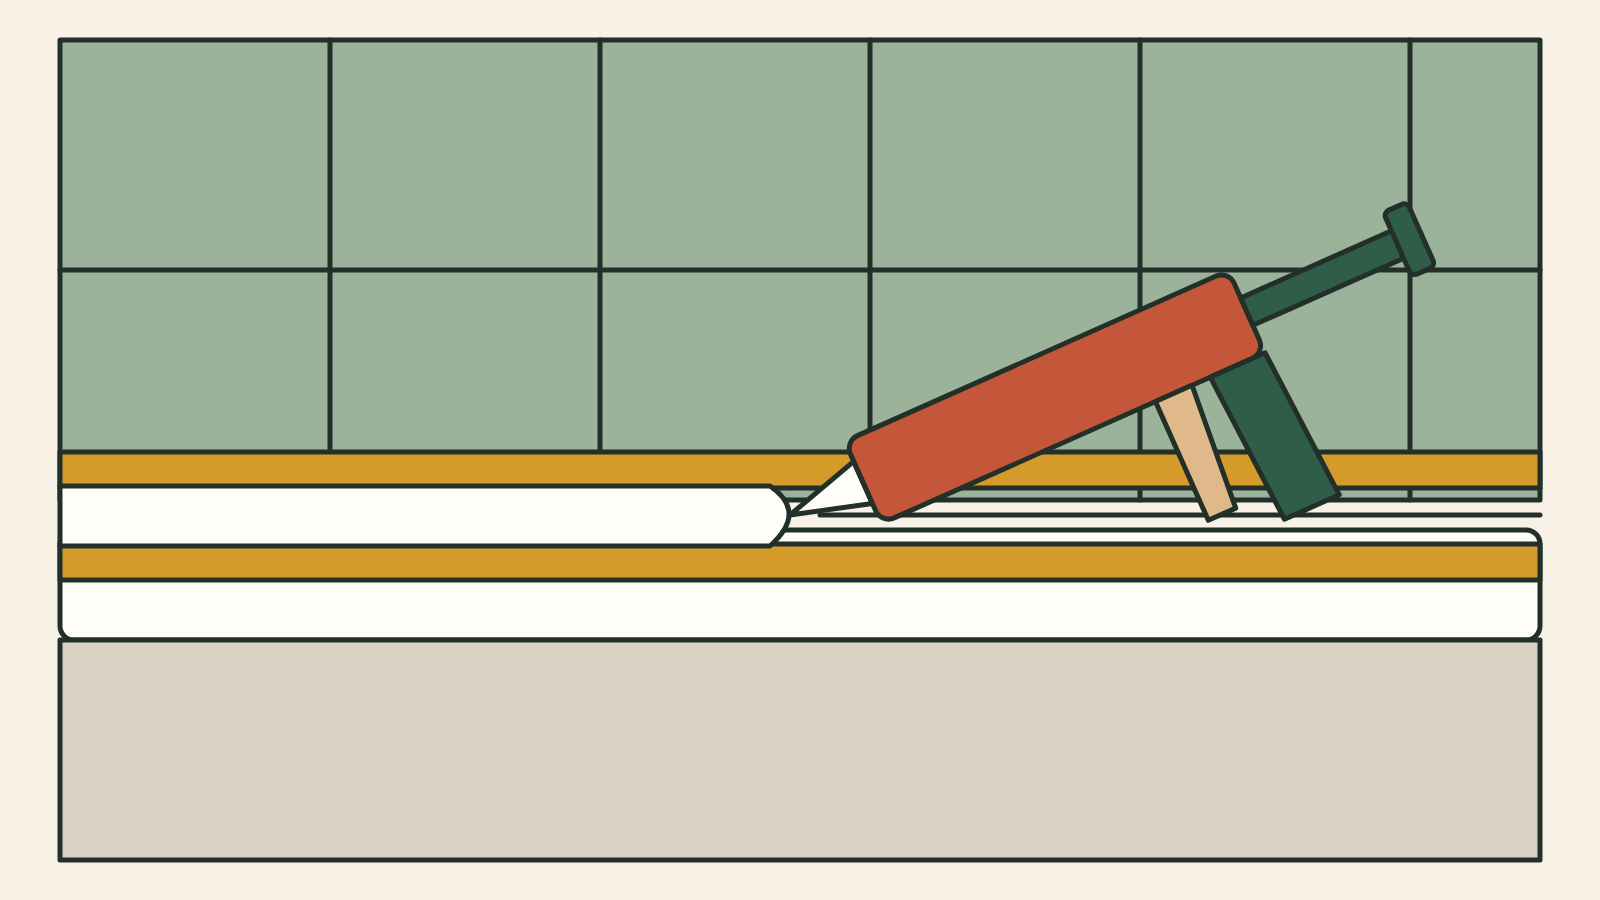
To recaulk a bathtub so the seal lasts, take out every bit of the old caulk, clean and fully dry the joint, run one steady bead of mildew-resistant tub-and-tile caulk, smooth it once, and keep water off it for as long as the label says. For 100% silicone that is usually at least 12 hours before any splash and 24 hours to full cure; siliconized acrylic generally needs 24 hours or more. Most of the job is the prep. A new bead laid over old, dirty or damp caulk peels within months.
At a glance
- Time: 2 to 3 hours of work for a standard tub (most of it removing old caulk and cleaning), plus at least 30 minutes of drying before you caulk and 12 to 48 hours before you shower, depending on the caulk.
- Cost: roughly $20 to $50 if you are buying everything. A 10.1 oz cartridge of 100% silicone kitchen-and-bath sealant runs about $8 to $22 at major retailers, and Angi puts the extra supplies (caulk gun, scraper, painter's tape) at $10 to $30. Prices vary.
- Skill level: beginner. Getting a neat bead takes a little practice; getting a watertight one mostly takes patience.
- Materials: one cartridge or squeeze tube of tub-and-tile caulk (a 10.1 oz cartridge covers about 50 linear feet at a 3/16-inch bead, far more than a tub needs), painter's tape, isopropyl (rubbing) alcohol, clean lint-free rags, paper towels, a trash bag.
- Tools: caulk gun, plastic razor blade or caulk removal tool, utility knife, needle-nose pliers, a caulk smoothing tool or your fingertip, gloves, and a fan or open window.
Silicone or siliconized acrylic
The two common tub caulks behave differently, so choose before you start.
100% silicone stays flexible, sheds water and lasts longest in a wet joint. It cannot be painted, it cleans up with solvent rather than water, and it smells of vinegar while it cures. One manufacturer's technical data sheet for a tub-and-tile silicone lists 5 to 10 minutes of tooling time, a skin in about 30 minutes, a minimum of 12 hours before water exposure and full cure in 24 hours, at 72°F and 50% humidity.
Siliconized acrylic (acrylic latex with silicone added) is easier to tool, cleans up with water and can be painted. It generally needs longer before water: a siliconized acrylic kitchen-and-bath caulk page from the same manufacturer says to allow at least 24 hours before water, and another maker's siliconized acrylic data sheet gives an application range of 40°F to 100°F and warns that cool temperatures and high humidity extend the cure.
Some "advanced" siliconized and hybrid formulas advertise water-ready times of a few hours. Trust the label on the tube you buy over any general rule, including ours, and when the label gives a range, use the longer end in a cold or steamy bathroom.
Whichever you choose, it has to go onto clean, bare surfaces: the silicone data sheet lists old sealant, soap residue and moisture among the things that must be removed before you apply.
Safety and ventilation
Open a window or run the bathroom exhaust fan for the whole job and while the caulk cures. The EPA's guidance on volatile organic compounds indoors advises increasing ventilation when you use products that emit them, and the vinegar smell of curing silicone is acetic acid. Wear gloves when you handle solvents and rubbing alcohol, keep the alcohol away from flames, and read the caulk's label and safety data sheet for anything specific to that product.
Cut away from your hand with the utility knife, and use a plastic blade on acrylic and fibreglass tubs, which scratch easily.
If there is mould on the wall around the tub, deal with it before you caulk. The EPA's brief guide to mould and moisture says to scrub mould off hard surfaces with detergent and water, dry them completely, and never caulk over mouldy surfaces. It also suggests professional help when mould covers more than about 10 square feet. If the tile is loose or the wall behind it feels soft when you press it, water has been getting in for a while; a plumber or tile contractor should look at that before you seal it in.
Steps
- Remove the old caulk. Slice along both edges of the bead with a utility knife or plastic blade, then pull it out in strips with needle-nose pliers. Scrape off what is left with the plastic blade held at a low angle. Take your time here; any film of old caulk left behind weakens the new bond.
- Clean the joint. Wipe both surfaces with a rag dampened in isopropyl alcohol to lift soap film and leftover silicone. Do this within an hour or two of caulking so the surface stays clean.
- Let it dry completely. Leave the fan running and give the joint at least 30 minutes, longer if the gap is deep or the grout is damp. Caulk will not bond to a wet surface, and moisture trapped behind it feeds mould.
- Fill the tub with water (optional, but worth it for acrylic and fibreglass tubs). The weight settles the tub slightly, opening the joint to its widest. Caulked this way, the bead compresses rather than stretches when you drain it. Leave the water in until the caulk has skinned over.
- Tape the joint. Run painter's tape along the wall about 1/8 inch above the gap and along the tub about 1/8 inch below it. This gives you two straight edges and keeps silicone off the surfaces around it.
- Cut the nozzle and load the gun. Cut the tip at a 45° angle, starting small; you can always cut more. Pierce the inner foil seal if there is one.
- Run the bead. Start in a corner and push or pull the gun along the joint at a steady pace with even pressure, filling the gap without gaps or bubbles. Work one side of the tub at a time, since silicone starts to skin within minutes. Gaps wider than about 1/2 inch need foam backer rod pressed in first.
- Smooth it once. Draw a smoothing tool or a gloved, slightly damp fingertip along the bead in one pass, pressing it into the joint. Going back over it repeatedly drags the caulk and leaves ridges.
- Pull the tape right away. Peel it off at an angle away from the bead before the caulk skins over. Wipe any smears off the tub immediately: water for acrylic, a dry rag then alcohol for silicone.
- Leave it alone. Keep the window open or the fan on, keep water off the joint for the time on the label, and drain the tub once the bead has skinned.
How long to wait before using the tub
Use the label on your tube as the final word. As a guide from the manufacturer data above: plan on no showers for at least 12 hours with 100% silicone and 24 hours before a full bath, and at least 24 hours for siliconized acrylic, longer if the room is cold or very humid. If you caulk in the evening, the morning shower is the risk; a second bathroom or a day at the gym solves it.
Keeping it clean
Wipe the bead dry after showers and clean it with ordinary bathroom cleaner every week or two. The silicone data sheet notes that soap and other residue can grow mould on top of a mould-resistant caulk, so the coating alone will not keep it white. If you are refreshing the bathroom walls at the same time, our guide to working out how much paint a room needs will keep you from overbuying.
