How to hang outdoor Christmas lights without damaging the roof or gutters
Plan and measure the run, pick outdoor-rated lights, hang them with gutter and shingle clips instead of nails, plug into GFCI protection, and follow OSHA and CPSC ladder rules.
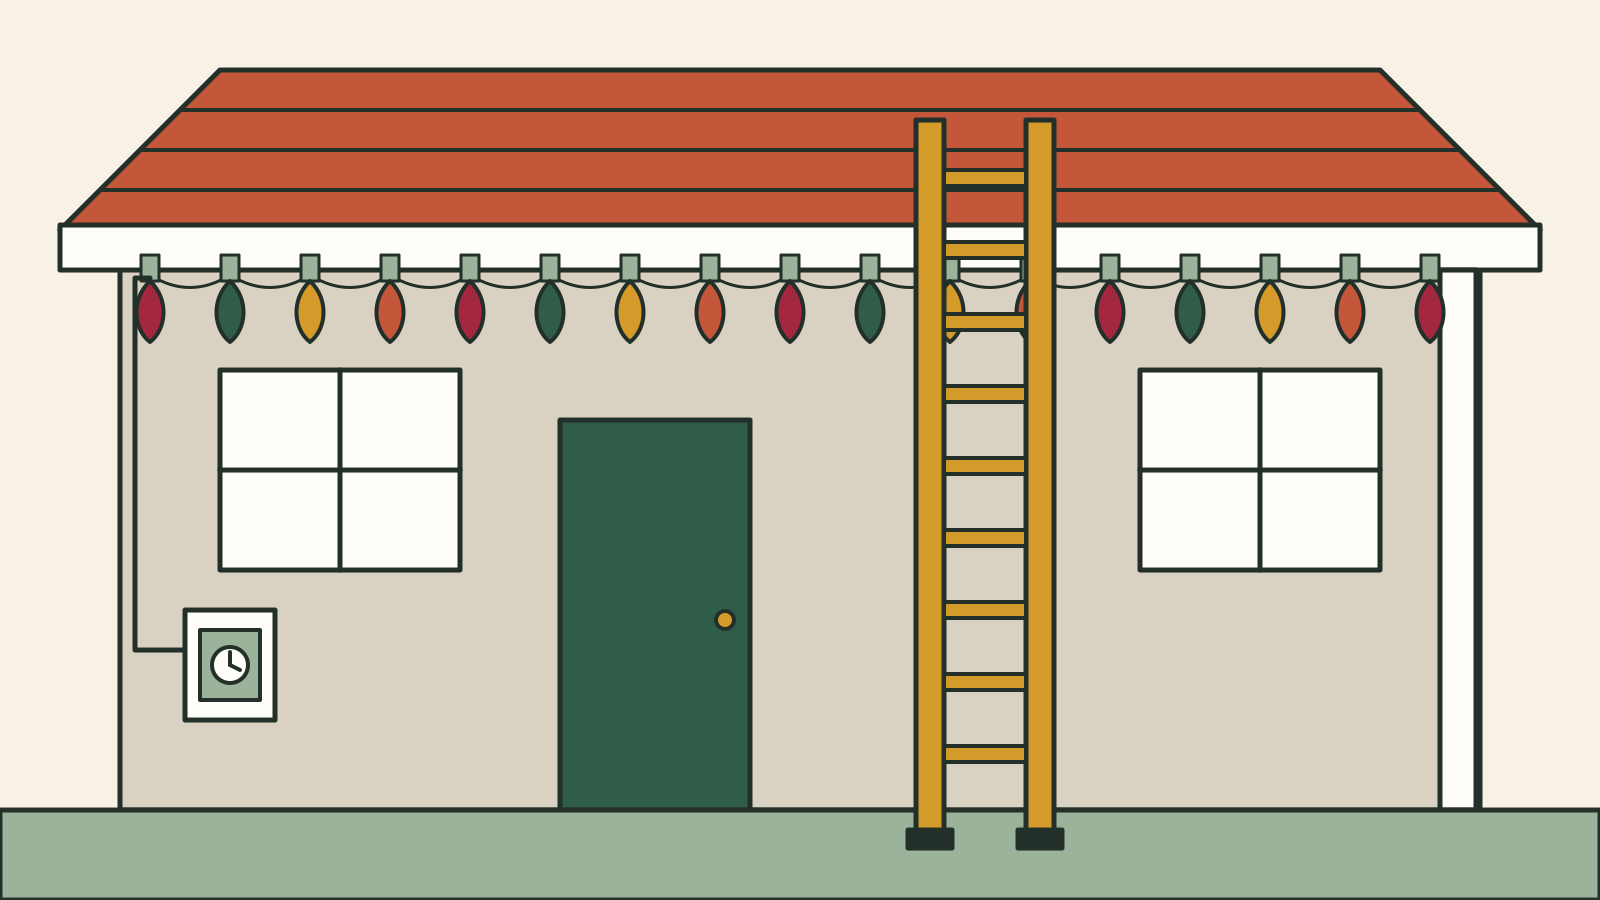
To hang outdoor Christmas lights without damaging the roof or gutters, hold them up with plastic clips that grip the gutter lip or slide under shingle edges, never nails or staples, and power them from a GFCI-protected outlet through cords rated for outdoor use. Plan the run and measure before you buy, join only as many strings as the manufacturer's tag allows, put the whole display on a timer, and set your ladder up properly with a helper at the bottom. On a single-storey house with gutters, that is a one-afternoon job.
Project at a glance: 3 to 6 hours for a typical single-storey roofline, beginner to intermediate skill (most of the difficulty is the ladder), and roughly $75 to $300 for lights, clips, a cord and a timer if you are starting from nothing. Prices vary by store and by how much roofline you have.
Materials
- Outdoor-rated light strings, enough for your measured run plus a little spare
- All-in-one plastic light clips that fit both gutters and shingles (one per bulb, so count bulbs, not feet)
- An outdoor-rated extension cord long enough to reach the outlet without joining two cords
- A plug-in outdoor timer, or a smart plug rated for outdoor use
- A portable GFCI if your outdoor outlet is not already GFCI-protected
- An extension ladder for the roofline, or a stepladder for a low porch or garage
- Tape measure, notepad, work gloves and shoes with good grip
Plan the run and measure
Decide what you are lighting (the front roofline, the peaks, the porch rail) and find your outlet. Plan the run to start at the corner nearest it and work outward.
Measure each stretch of gutter or roof edge from the ground, then add the climb from the outlet up to the gutter, since lights or a cord have to cover that too. Sketch it with the outlet marked and each length written in. Buy enough lights to cover the total plus about 10 percent, and check that the strings come with a plug at one end and a socket at the other so they can be joined.
Test every string on the ground before you climb.
Choose lights rated for outdoor use
The U.S. Consumer Product Safety Commission advises using only lights tested by a nationally recognised testing laboratory and, for outdoor use, checking for labels that say the lights are certified for outdoor use (CPSC). In the US, the marks you will usually see are UL (from UL Solutions) and ETL (from Intertek). Both companies are recognised by OSHA's Nationally Recognized Testing Laboratory program, so either mark tells you the product was tested to the same safety standard. Look for "outdoor" or "indoor/outdoor" on the box and the cord tag; an indoor-only set does not belong on a gutter.
Before hanging any string, new or from the attic, CPSC says to check it for cracked or broken sockets, frayed or bare wires and loose connections, and to throw out damaged sets rather than repair them.
Follow the limit on connected strings
Every string has a maximum number of sets you may connect end to end, printed on the tag near the plug or on the box. Follow it exactly. Ontario's Electrical Safety Authority (ESA) and Manitoba Hydro both give three strings as the usual limit; some sets allow more and some fewer, and the tag on your own lights is the number that counts. Going over it overloads the first string's wires and plug.
If your run is longer than the limit, split it into two or more circuits, each starting from its own cord. Do not daisy-chain extension cords to make up the length; buy one outdoor cord that reaches.
Clip, don't nail
Nails, screws and staples punch holes in gutters and shingles and can damage the cords, which is why the ESA tells you to use proper clips and avoid staples or nails. All-in-one plastic clips hold the lights without any of that.
- On the gutter: the clip hooks over the front lip of the gutter, and the light socket snaps into it so the bulb stands upright or faces out.
- On the shingles: the same clip slides flat under the bottom edge of a shingle. Slide it in gently; do not pry shingles up or bend them back.
- Space the clips to match the bulbs, so each bulb has a clip, and keep the line straight by sighting along it from the ground every few feet.
- Leave enough slack at corners so the string is not pulled tight around the bend.
- Keep plugs and connections off the ground and out of wet snow, as Manitoba Hydro advises, and out of gutters where water collects. Do not pinch cords in doors or windows.
Do not walk the roof to hang lights. Everything here can be done from a ladder along the eaves.
Plug into GFCI protection, and use a timer
CPSC advises plugging outdoor lights only into a GFCI-protected receptacle or a portable GFCI. A ground-fault circuit interrupter cuts the power if current starts leaking through water or a person, which is the real risk with lights out in rain and snow. Press the test button on the outlet before the season starts; the power should cut out, and the reset button should bring it back. If it does not, or your outdoor outlet has no GFCI, use a portable GFCI and call a licensed electrician to replace the outlet. Adding new outdoor outlets or circuits is also electrician work.
Use an extension cord rated for outdoor use and in good condition, with no cuts or fraying, as CPSC advises. Then plug the whole display into an outdoor timer. Manitoba Hydro recommends timers so lights switch on and off automatically (Manitoba Hydro), and Ontario's ESA advises turning decorations off when you go to bed or leave home. A timer set for dusk to about 11 p.m. does both and saves electricity.
Ladder safety, from OSHA and CPSC
Falls are the biggest risk in this job. CPSC estimated 14,700 emergency room visits from holiday decorating in one recent season, about 240 a day across November and December, and falls were the most common cause at 41 percent (CPSC 2018 release). These rules come from OSHA's ladder standard for construction work (29 CFR 1926.1053), OSHA's portable ladder safety guidance and CPSC's ladder warnings. They were written for workers and suit a homeowner just as well.
- Set an extension ladder at the right angle: the distance from the wall to the ladder's feet should be about one quarter of the ladder's working length. For a ladder that reaches 16 feet up the wall, the feet go about 4 feet out.
- If you will step off at the top, the rails must extend at least 3 feet above the landing.
- Do not stand on the top three rungs of an extension ladder, or on the top cap or top step of a stepladder.
- Face the ladder going up and down, and keep three points of contact: two hands and a foot, or two feet and a hand. That means carrying lights in a bag or pouch, not in your hands.
- Keep your belt buckle between the side rails, a rule many university safety offices teach. Climb down and move the ladder instead of leaning out.
- Set the feet on firm, level ground. On soft lawn, CPSC suggests a flat board under the feet.
- Look up first. CPSC's ladder alert says to assume every overhead wire is live, to keep the distance to the nearest overhead line at least twice the length of the ladder, and to use a fiberglass ladder near wires (CPSC, "Ladders and Electricity Don't Mix"). Never toss lights into a tree near a power line.
- Do not climb in wind, rain or ice. CPSC warns that a gust can shift a ladder into a wire.
- Heed the ladder's warning labels, as CPSC advises, including the maximum load, which counts you plus everything you carry.
Work with a helper. CPSC recommends a second person to carry and set up a long ladder, and someone at the foot can steady it, pass up lights and get help if you fall. Do not climb when you are home alone.
The same timer and GFCI habits serve every season, and our weekend plan for a Halloween porch uses them for jack-o'-lantern lights and porch strings.
When to hire an installer
Hire it out if the roofline is two storeys or higher, the roof is steep enough that you would need to walk it, power lines run near the work, or you are uneasy on a tall ladder. Angi puts professional installation at around $444 on average in 2025, with most homeowners spending about $220 to $684, and many installers price at $2 to $5 per linear foot (Angi). Ask whether the quote includes the lights or only the labour, and whether takedown in January is part of the price; Bob Vila's cost guide notes that takedown is often included but not always. If an outlet has to be added or replaced, that is a job for a licensed electrician, not the light installer.
Take the lights down on a dry, calm day with the same ladder rules, and wind each string around a piece of cardboard so next year starts with a test, not a tangle.
